Claude Code Usage Guide: From Official Configuration to Integrating Third-Party Models
Quickly install Claude Code via NPM or scripts, configure third-party models like DeepSeek and Zhipu GLM to reduce usage costs, and use the Claude Code Router (CCR) to build an intelligent routing system. The article details key technical points such as multi-provider management, dynamic routing strategies, request transformation, and cost optimization, and provides complete configuration examples and architectural designs.
Claude Code is an AI coding assistant launched by Anthropic, centered around the core concept of "living in the terminal." It can understand project structure, edit code, execute commands, and manage Git. Although it supports IDE integration, it is fundamentally a command-line-driven tool.
curl -fsSL https://claude.ai/install.cmd -o install.cmd && install.cmd && del install.cmd
Verify Installation
bash
claude --version
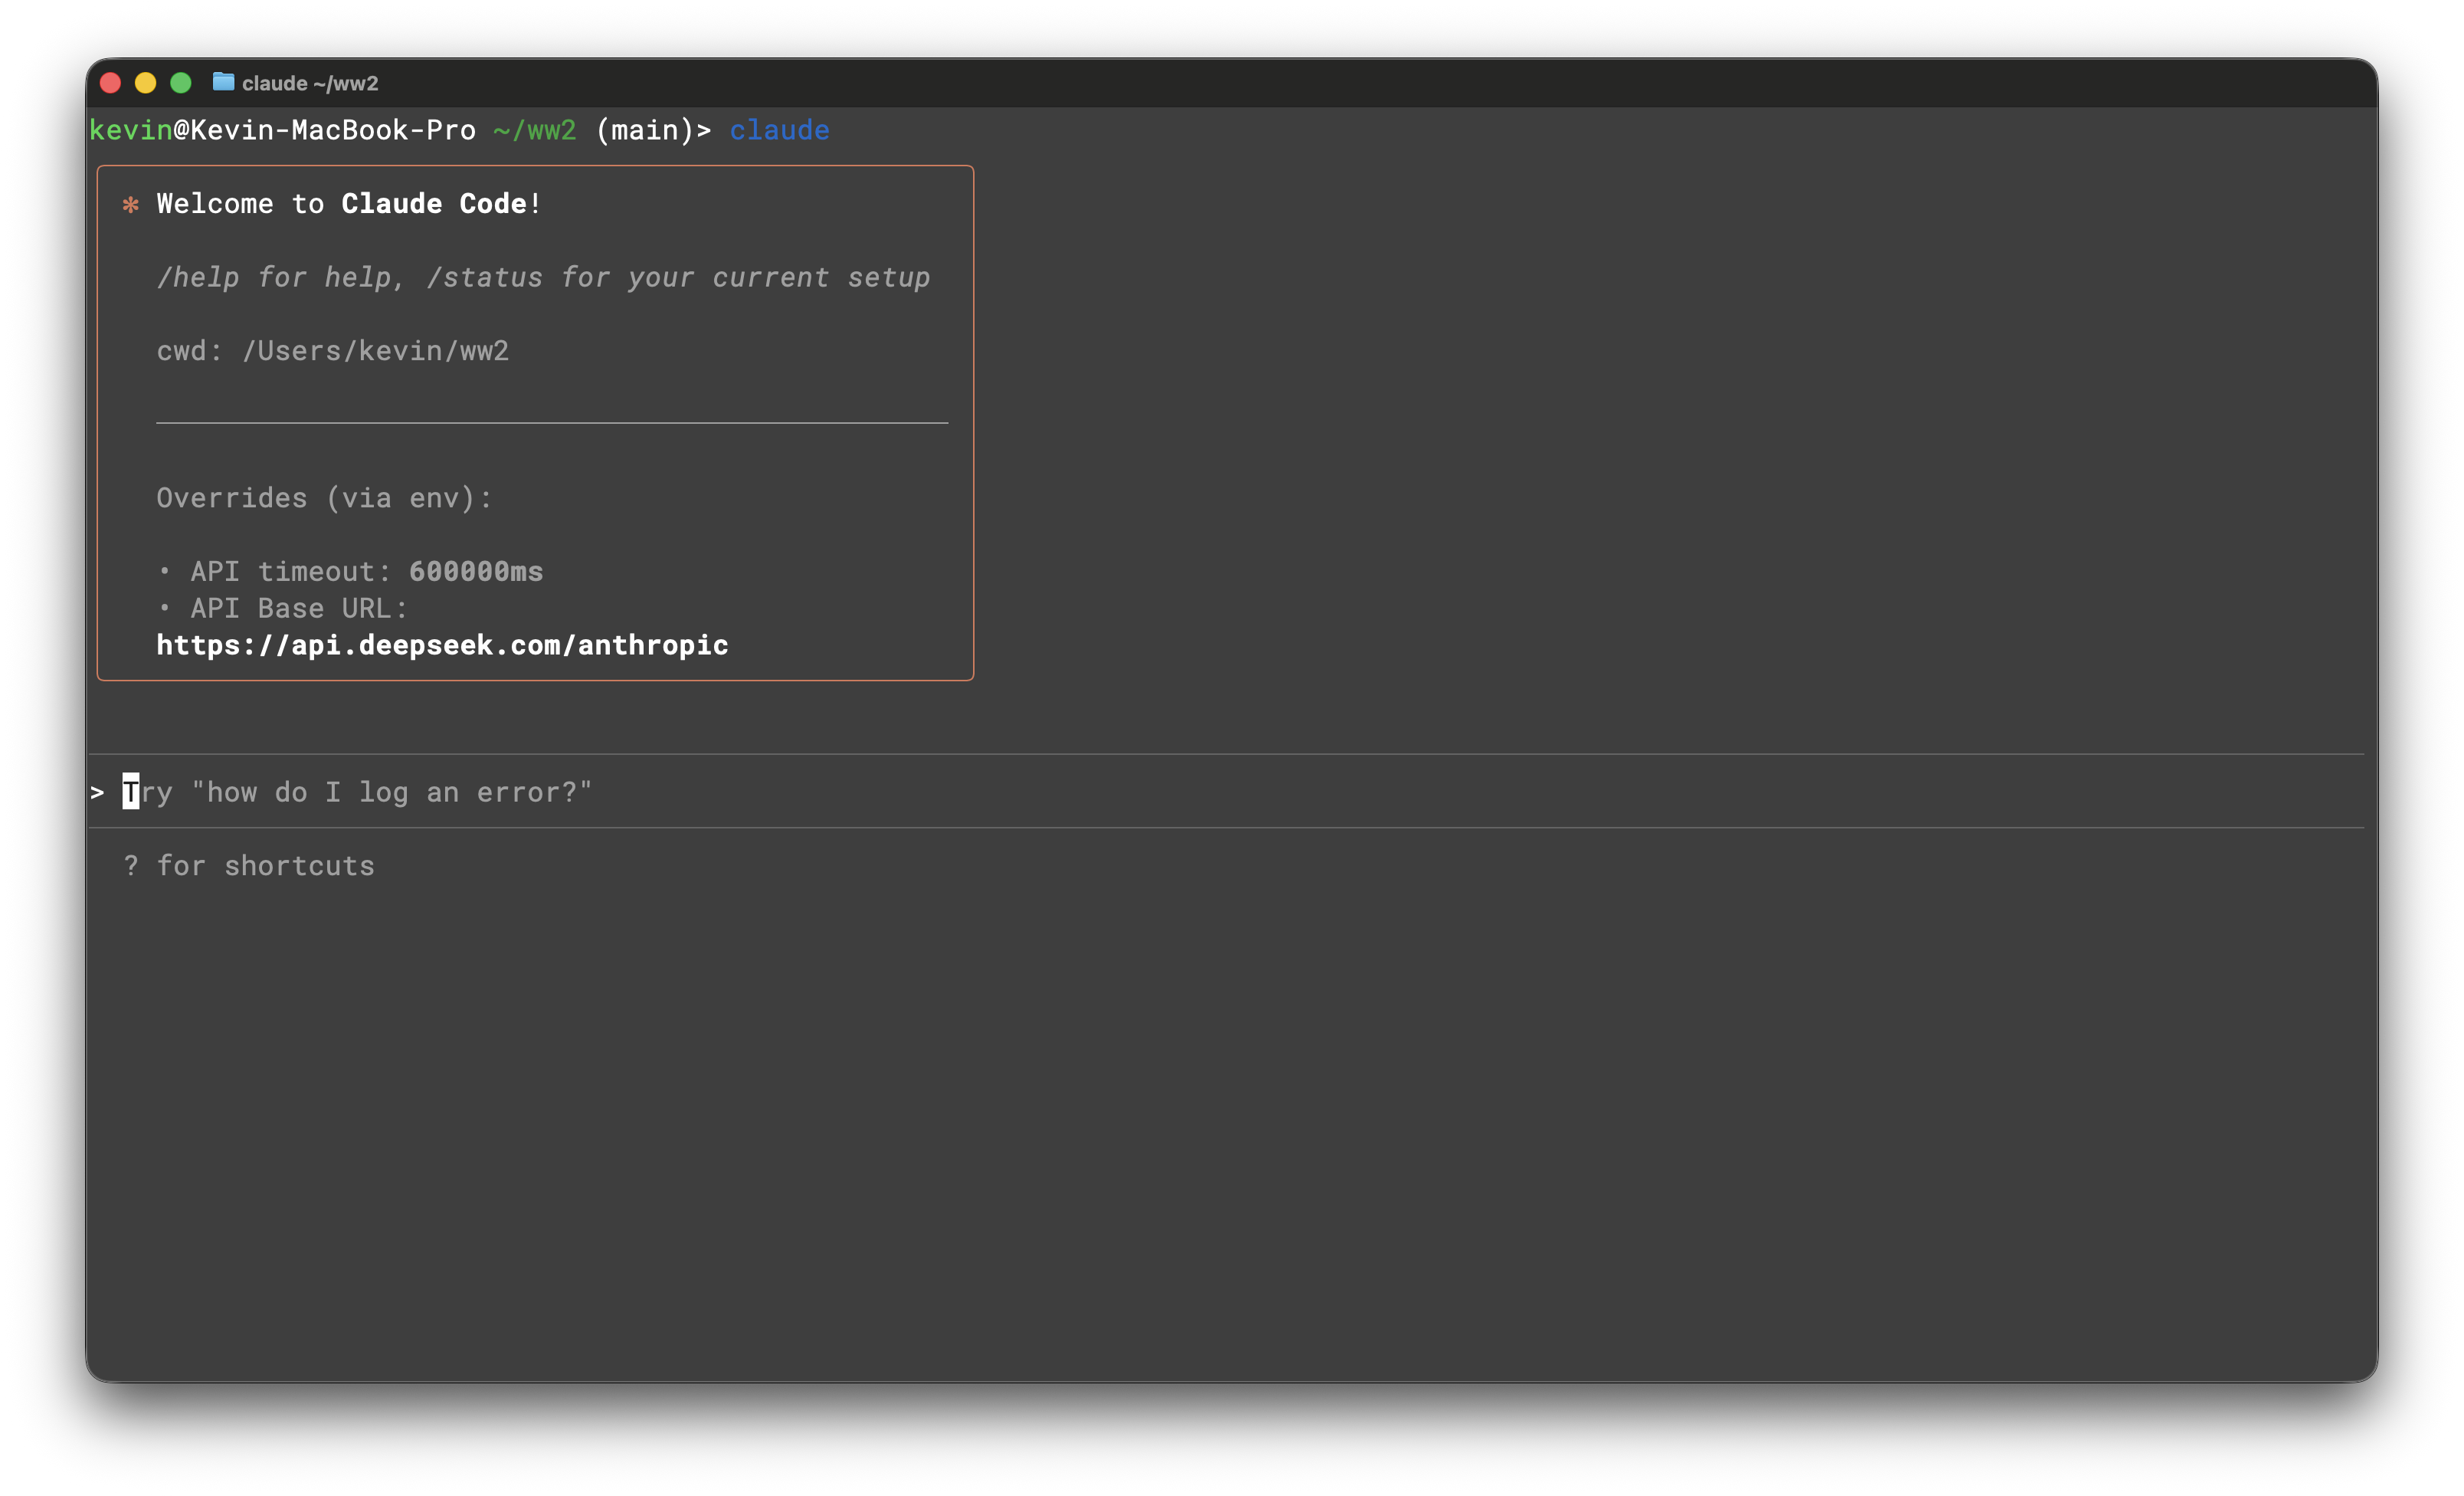
claude
Contents
Created
Updated
Word count
2552
Reading time
13 minutes
# Or run directly
Seeing version information or entering the interactive prompt indicates a successful installation.
2.2 Login and Authorization
The first time you run claude, you will be prompted to log in, supporting two methods:
Personal Users: Interactive login using a Claude.ai account.
Enterprise/API Users: Authorization using an Anthropic API Key.
Credentials are saved in ~/.config/claude, and you can re-login or switch accounts later using the /login command.
2.3 Basic Usage
Enter your project directory and start:
bash      cd /path/to/your/project
claude
In interactive mode, describe your requirements in natural language:
> create utilities/logger.py with rotating file handler
> write unit tests for date parsing edge cases
> explain this function foo in module bar
> refactor module baz to async/await
Claude Code will automatically read the project context, understand the code structure, and execute the operations.
III. Slash Commands
This section summarizes the built-in commands and key points of custom commands in Claude Code.
Built-in commands are used for session control, status viewing, exporting, debugging, etc. They are frequently used, so it is recommended to memorize the common ones.
Custom commands are defined via Markdown files, supporting parameters, bash execution, file references, and permission controls. They are suitable for solidifying common templates into commands.
Built-in Commands (Common)
/add-dir: Add an additional working directory.
/agents: Manage custom sub-agents (AI subagents).
/bashes: List/manage background bash tasks.
/bug: Report a bug (sends the conversation to Anthropic).
/clear: Clear conversation history.
/compact [instructions]: Compress conversation context, optionally with focusing instructions.
/config: Open the settings interface (Config tab).
/context: Visualize current context usage in a color grid.
/cost: Display token usage statistics.
/doctor: Check the health status of the Claude Code installation.
/exit: Exit the REPL.
/export [filename]: Export the current session to a file or clipboard.
/help: Get the list of help topics and usage instructions.
/hooks: Manage hook configurations related to tool events.
/ide: Manage IDE integration and display status.
/init: Initialize the project with the CLAUDE.md guide.
/install-github-app: Set up Claude GitHub Actions for a repository.
/login, /logout: Switch or log out of the Anthropic account.
/mcp: Manage MCP server connections and OAuth authorization.
/memory: Edit the memory file (CLAUDE.md).
/model: Select or switch the AI model.
/output-style [style]: Set the output style.
/permissions: View or update permission rules.
/plugin: Manage Claude Code plugins.
/pr-comments: View PR comments.
/privacy-settings: View/update privacy settings.
/release-notes: View release notes.
/resume: Resume the session.
/review: Request a code review.
/rewind: Roll back the session or code state.
/sandbox: Enable a restricted sandboxed bash (isolated file system and network).
/security-review: Perform a security review of pending changes on the current branch.
/status: Open the status interface (shows version, model, account, and connectivity).
/statusline: Set the status line UI.
/terminal-setup: Install Shift+Enter shortcut for iTerm2 / VSCode.
/todos: List current todo items.
/usage: Display subscription plan usage limits and rate limit status.
/vim: Enter vim mode (alternating insert/command modes).
Custom Commands (Key Points)
Syntax: /<command-name> [arguments]
Command Types:
Project commands (project): Located in .claude/commands/, shared among the team.
User commands (user): Located in ~/.claude/commands/, available across all projects.
Plugin commands: Distributed with plugins, located in the plugin's commands/ directory, named using the namespace /plugin-name:command.
MCP commands: Dynamically discovered by connected MCP servers, formatted as /mcp__<server>__<prompt> [args].
Parameter Support:
$ARGUMENTS: Captures the entire argument string (suitable for free text).
$1, $2, ...: Access individual arguments by position (suitable for structured arguments and default value handling).
Bash Execution: Bash commands can be executed in command files using the ! prefix (requires enabling the corresponding allowed-tools in the frontmatter).
File References: Use @path/to/file to reference file content within the command context.
Frontmatter Metadata: Supports fields including allowed-tools, argument-hint, description, model, disable-model-invocation, etc.
SlashCommand Tool Behavior and Permissions
The SlashCommand tool only supports user-defined custom commands (does not include built-in commands).
Character Budget: Default 15,000 characters (adjustable via the SLASH_COMMAND_TOOL_CHAR_BUDGET environment variable).
Disabling Method: Prohibit the SlashCommand tool via permission rules, or add disable-model-invocation: true in the command's frontmatter.
Permission Rules: Supports exact matching (SlashCommand:/commit) and prefix matching (SlashCommand:/review-pr:*).
Engineering Best Practices
Turn repetitive review, testing, and release templates into custom commands to reduce manual operations.
For commands that perform writes or commits, strictly set allowed-tools and review command files during the PR process.
Prioritize project commands for sharing best practices within a team; personal commands are for individual efficiency improvements.
Use review steps or multi-model validation for critical outputs to avoid unreliable results from low-cost models.
Skills vs Slash commands
Slash commands: Suitable for simple, repetitive prompts that are explicitly triggered manually.
Skills: Suitable for complex, multi-file capabilities with automated discovery, including scripting and validation flows.
Fish Configuration (Add to ~/.config/fish/config.fish):
fish      set -gx ANTHROPIC_BASE_URL https://api.deepseek.com/anthropic
set -gx ANTHROPIC_AUTH_TOKEN <YOUR_DEEPSEEK_API_KEY>
set -gx API_TIMEOUT_MS 600000
set -gx ANTHROPIC_MODEL deepseek-chat
set -gx ANTHROPIC_SMALL_FAST_MODEL deepseek-chat
set -gx CLAUDE_CODE_DISABLE_NONESSENTIAL_TRAFFIC 1
After configuration, running claude will automatically direct all model calls to DeepSeek.
{"env":{"ANTHROPIC_AUTH_TOKEN":"your_zhipu_api_key","ANTHROPIC_BASE_URL":"https://open.bigmodel.cn/api/anthropic",// Mainland China region// "ANTHROPIC_BASE_URL": "https://api.z.ai/api/anthropic", // International version"API_TIMEOUT_MS":"3000000","ANTHROPIC_DEFAULT_HAIKU_MODEL":"glm-4.5-air","ANTHROPIC_DEFAULT_SONNET_MODEL":"glm-4.6","ANTHROPIC_DEFAULT_OPUS_MODEL":"glm-4.6"}}
Environment Variable Method (Use if JSON method fails):
bash
export ANTHROPIC_AUTH_TOKEN=your_zhipu_api_key
export ANTHROPIC_BASE_URL=https://open.bigmodel.cn/api/anthropic # Mainland China region# export ANTHROPIC_BASE_URL=https://api.z.ai/api/anthropic # International versionexport API_TIMEOUT_MS=3000000
export ANTHROPIC_DEFAULT_HAIKU_MODEL=glm-4.5-air
export ANTHROPIC_DEFAULT_SONNET_MODEL=glm-4.6
export ANTHROPIC_DEFAULT_OPUS_MODEL=glm-4.6
5.3 Precautions
Ensure the third-party API is compatible with the current Claude Code version.
Choose the appropriate model based on the task characteristics (e.g., deepseek-reasoner for complex reasoning).
Pay attention to API documentation updates and adjust configurations as necessary.
VI. Advanced Solutions: Intelligent Routing and Switching Tools
When more complex model management strategies are needed, direct connection methods may be insufficient. Here we introduce two open-source tools:
Claude Code Router (CCR): A command-line routing proxy supporting dynamic routing and multi-model collaboration.
CC-Switch: A cross-platform desktop application providing visual configuration management.
Windows:
Download the CC-Switch-v{version}-Windows.msi installer or the CC-Switch-v{version}-Windows-Portable.zip portable version from the Releases page.
macOS:
Method 1: Homebrew Installation (Recommended)
bash      brew tap farion1231/ccswitch
brew install --cask cc-switch
Update:
bash
brew upgrade --cask cc-switch
Method 2: Manual Download
Download CC-Switch-v{version}-macOS.zip from the Releases page.
Note: Since the author does not have an Apple Developer account, you might see an "unidentified developer" warning on first launch. Close the warning, then go to "System Settings" → "Privacy & Security" → click "Open Anyway," and it will work normally afterward.
ArchLinux:
bash
paru -S cc-switch-bin
Linux:
Download CC-Switch-v{version}-Linux.deb or CC-Switch-v{version}-Linux.AppImage from the Releases page.
Quick Start
Basic Usage:
Add Provider: Click "Add Provider" → Select a preset or create a custom configuration.
Switch Provider:
Main Interface: Select provider → Click "Enable".
System Tray: Directly click the provider name (takes effect immediately).
Apply Changes: Restart the terminal or the Claude Code / Codex / Gemini client.
Revert to Official: Select the "Official Login" preset (Claude/Codex) or "Google Official" preset (Gemini), restart the client, and follow the login/OAuth process.
MCP Management:
Location: Click the "MCP" button in the top right corner.
Add Server: Use built-in templates or custom configurations.
Enable/Disable: Use the switch to control which servers sync to the real-time configuration.
Import/Export: Import existing MCP servers from Claude/Codex/Gemini configuration files.
Skills Management:
Location: Click the "Skills" button in the top right corner.